This article shows how to create a Business Data Connectivity using external Content type through SharePoint Designer. Business Data Connectivity can be used to integrate with SQL database and SharePoint in your working scenario to manage data’s using SQL Server.
Step 1:
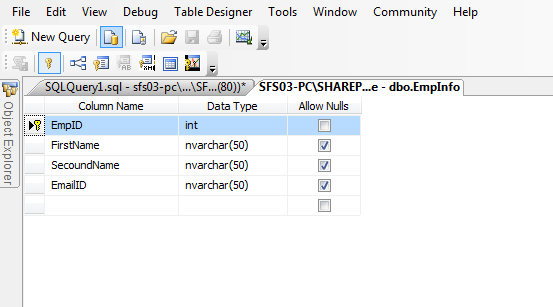
Open SQL Server and create a database named “Employee”. Then create a table named “EmpInfo” and create a column as show in a figure below
Step 2:
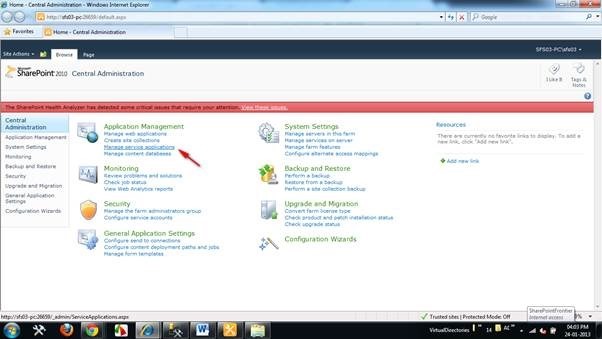
Go to Central Administration and click Manage Service application
Step 3:
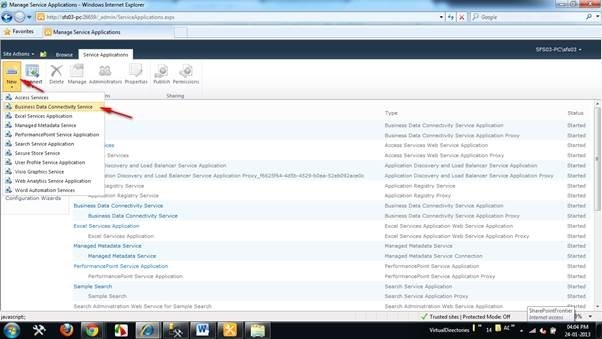
Click the New button from menu, list of services will be listed. Then click the Business Data Connectivity services and configure them.
Step 4:
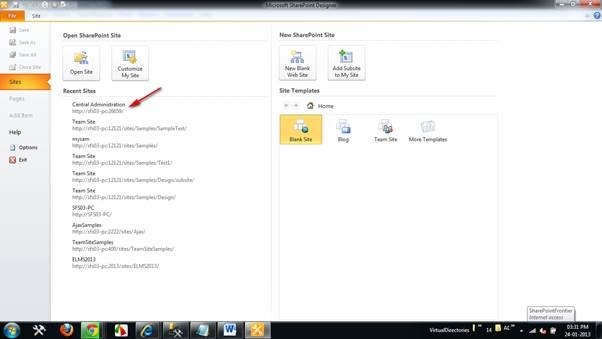
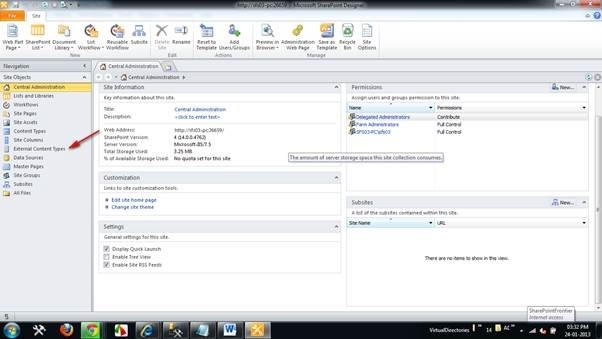
After connecting the Business Data Connectivity services. Open SharePoint Designer and click Central Administration
Step 5:
Click the External Content Types from the left menu
Step 6:
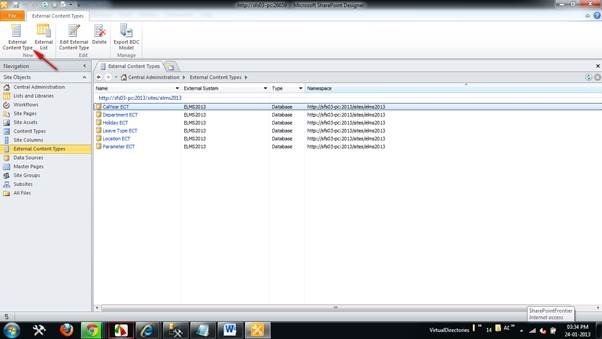
Click New External Content Types from the file menu
Step 7:
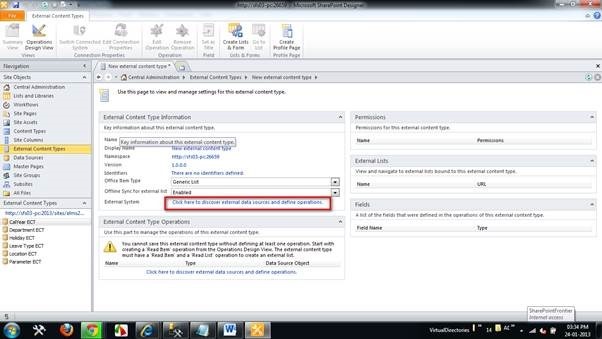
Click here to discover external data sources and define operations for connecting the external data source shown below
Step 8:
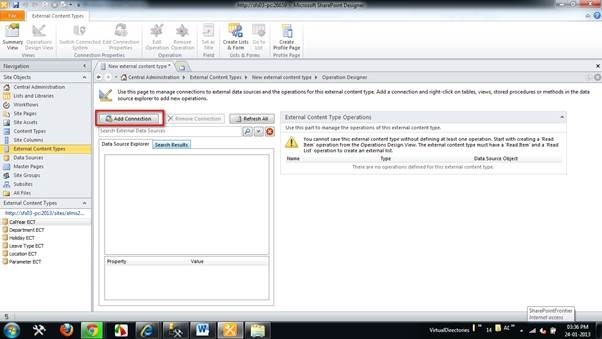
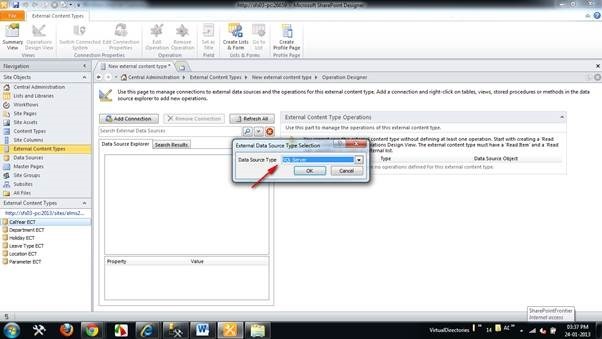
Add Connection button to connect the SQL Server
Step 9:
Choose the Data Source Type as SQL Server
Step 10:
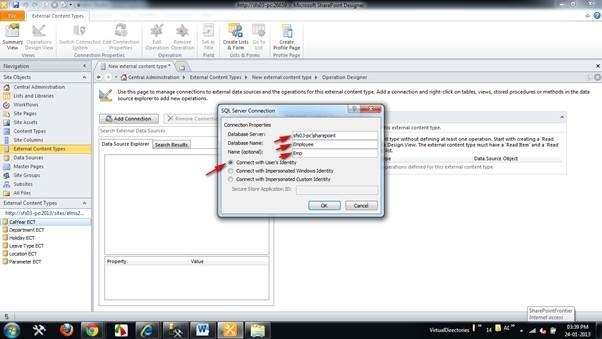
Configure SQL Server as below and click ok
Step 11:
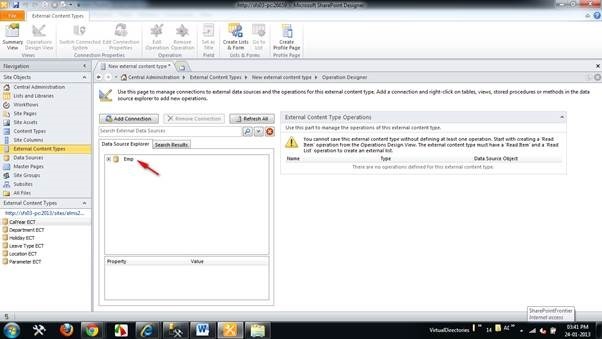
Now the SQL Server is connected and you will get the Employee Database connection Source
Step 12:
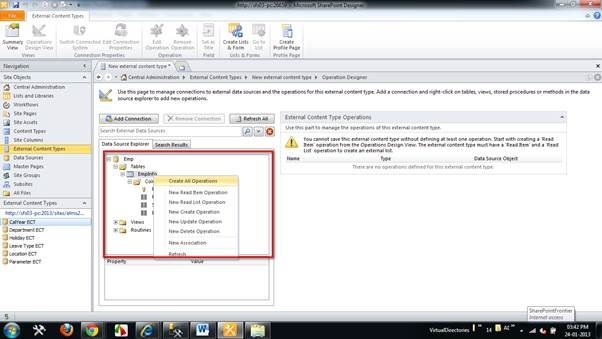
Click Table name Emp -> Tables ->EmpInfo then right click the EmpInfo and click the Create All operations
Step 13:
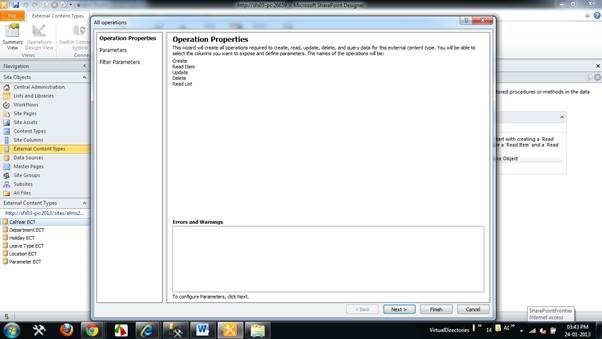
Then All operation will popped up. Click Next button
Step 14:
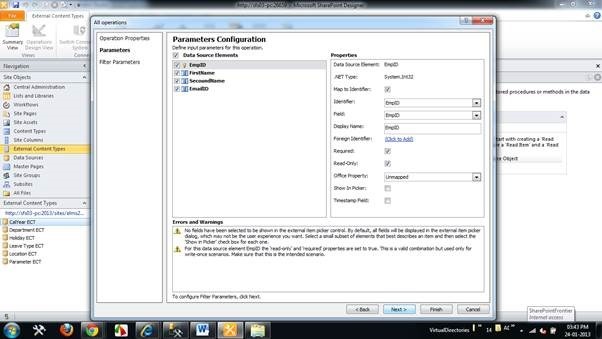
Parameter Configuration popped up and click Finish Button
Step 15:
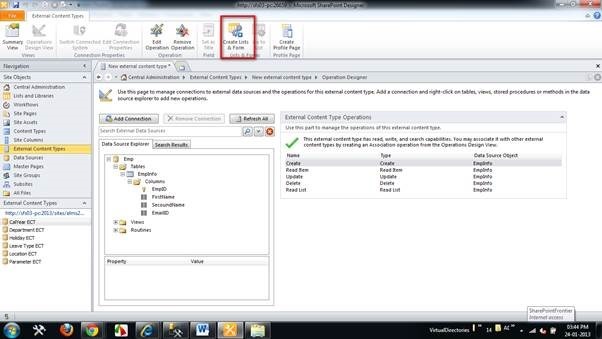
Click Create Lists & Form Icon from Ribbon
Step 16:
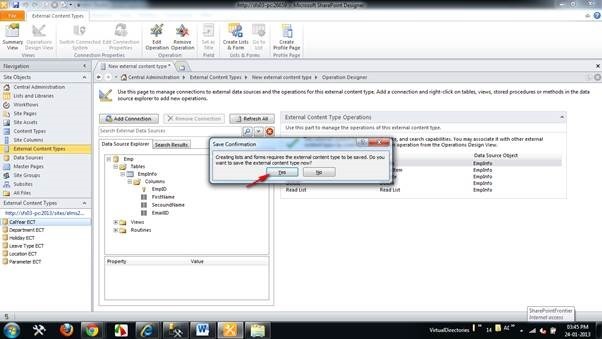
Then Conformation Will be popped up and give “Yes” to save the changes
Step 17:
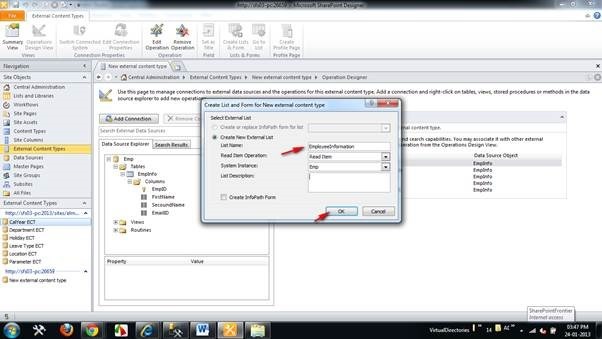
Enter List Name as Employee information and click ok button
Step 18:
Go to Central Administration
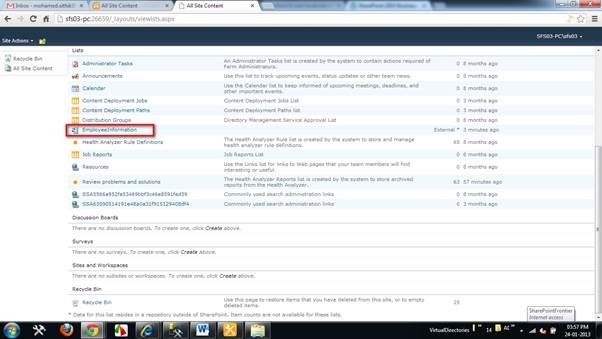
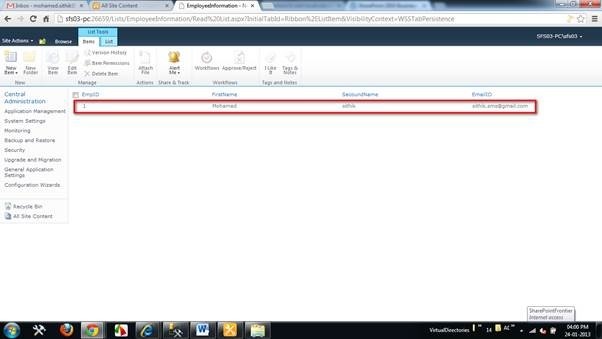
Click Site Actions->View All Site Content and EmployeeInformation will be listed there.
Step 19:
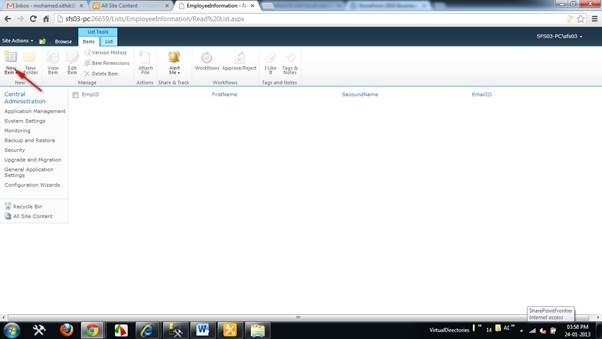
Click the New button from the menu
Step 20:
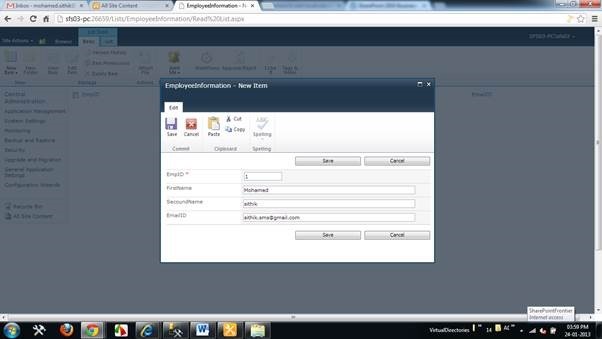
Add New item and Save it
Step 21:
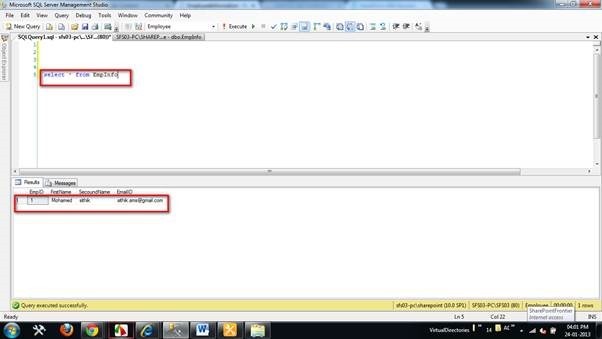
Open SQL Server ->Choose the Database “Employee” and Check the “Emplnfo” table using Query analyser. Your data will be saved.

Leave a comment