In this article, let us see how to create a PageLayout using SharePoint Designer. In the previous article, we saw about the creating a page layout using Visual Studio. But on that, the PageLayout.aspx, we need to know, how to create the skeleton of the aspx.
We saw that, we need to paste the below lines in the previous post.
 <%@ Page language="C#" Inherits="Microsoft.SharePoint.Publishing.PublishingLayoutPage,Microsoft.SharePoint.Publishing,Version=15.0.0.0,Culture=neutral,PublicKeyToken=71e9bce111e9429c" %>

 <%@ Register Tagprefix="SharePointWebControls" Namespace="Microsoft.SharePoint.WebControls" Assembly="Microsoft.SharePoint, Version=15.0.0.0, Culture=neutral, PublicKeyToken=71e9bce111e9429c" %>

 <%@ Register Tagprefix="WebPartPages" Namespace="Microsoft.SharePoint.WebPartPages" Assembly="Microsoft.SharePoint, Version=15.0.0.0, Culture=neutral, PublicKeyToken=71e9bce111e9429c" %>

 <%@ Register Tagprefix="PublishingWebControls" Namespace="Microsoft.SharePoint.Publishing.WebControls" Assembly="Microsoft.SharePoint.Publishing, Version=15.0.0.0, Culture=neutral, PublicKeyToken=71e9bce111e9429c" %>

 <%@ Register Tagprefix="PublishingNavigation" Namespace="Microsoft.SharePoint.Publishing.Navigation" Assembly="Microsoft.SharePoint.Publishing, Version=15.0.0.0, Culture=neutral, PublicKeyToken=71e9bce111e9429c" %>

 <asp:Content ContentPlaceholderID="PlaceHolderPageTitle" runat="server">

 <SharePointWebControls:FieldValue id="PageTitle" FieldName="Title" runat="server"/>

 </asp:Content>

 <asp:Content ContentPlaceholderID="PlaceHolderMain" runat="server">

 <ui>

 <li ><span style="color:red" >Article Author : </span></li><SharePointWebControls:TextField ID="Author" FieldName="5511034a-38c6-4861-9d00-1633cc111ca3" runat="server"></SharePointWebControls:TextField>

 <li ><span style="color:red" >Article Body : </span></li><SharePointWebControls:NoteField ID="Body" FieldName="93bb1031-87a2-4f84-bddb-3a9d94d197d1" runat="server"></SharePointWebControls:NoteField>

 <li ><span style="color:red" >Tags : </span></li><SharePointWebControls:CheckBoxChoiceField ID="Tags" FieldName="9736f0e4-9c76-4ff7-bf33-1547ac53553c" runat="server"></SharePointWebControls:CheckBoxChoiceField>

 </ui>

 </asp:Content>
We should know, how to get this code.
For that, the usual trick is create the layout on the SharePoint Designer and copy the code. Paste it on the Visual Studio aspx page. Build the wsp. That’s it.
For doing that, let us see how to create a page layout using the SharePoint Designer.
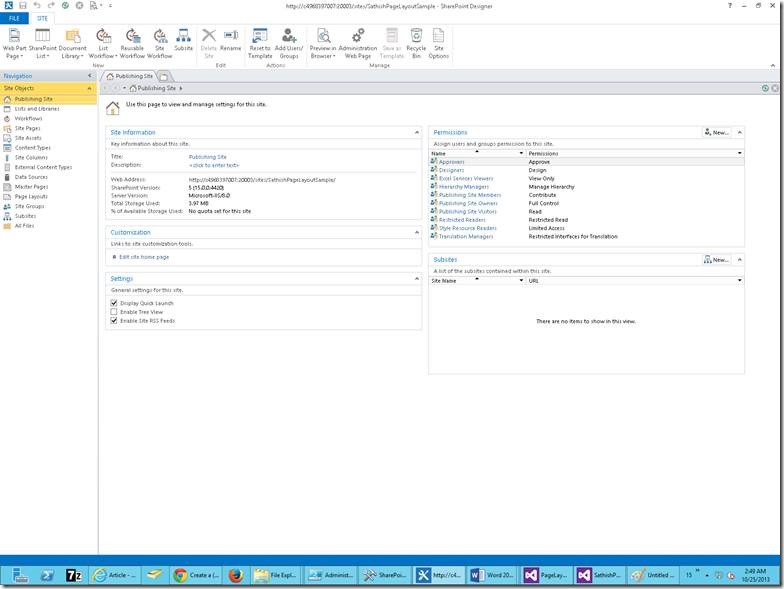
Let us open the Designer.
Open our SiteCollection. Here it is SathishPageLayoutSample.
Designer will somewhat looks like this.
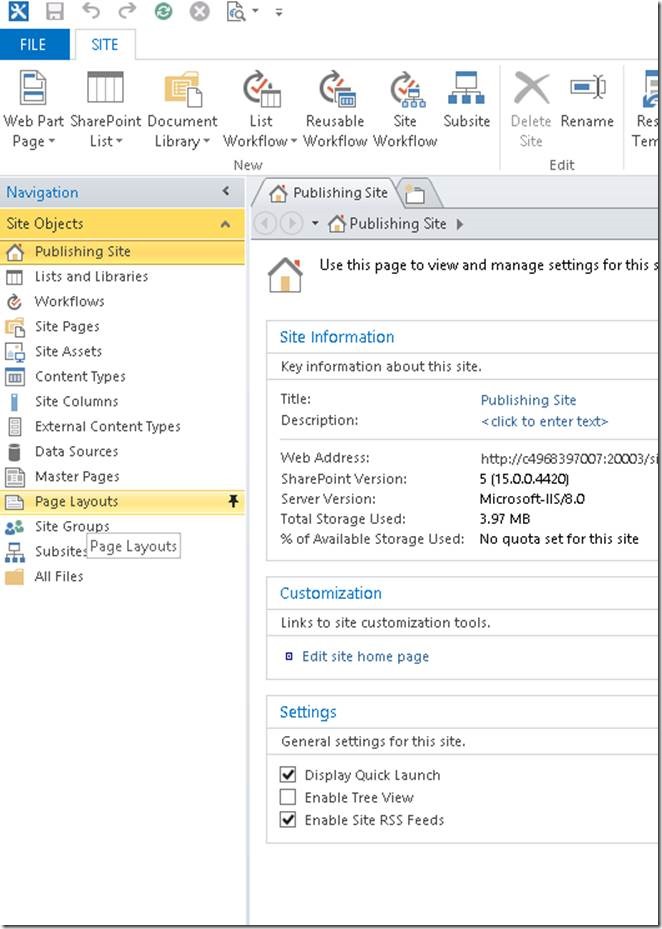
Select the Page Layouts
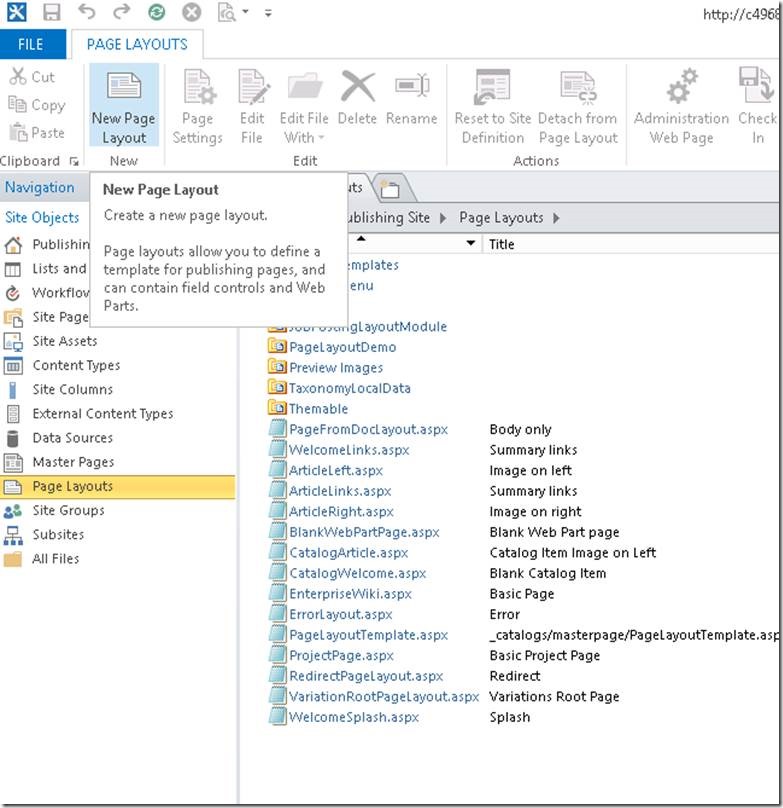
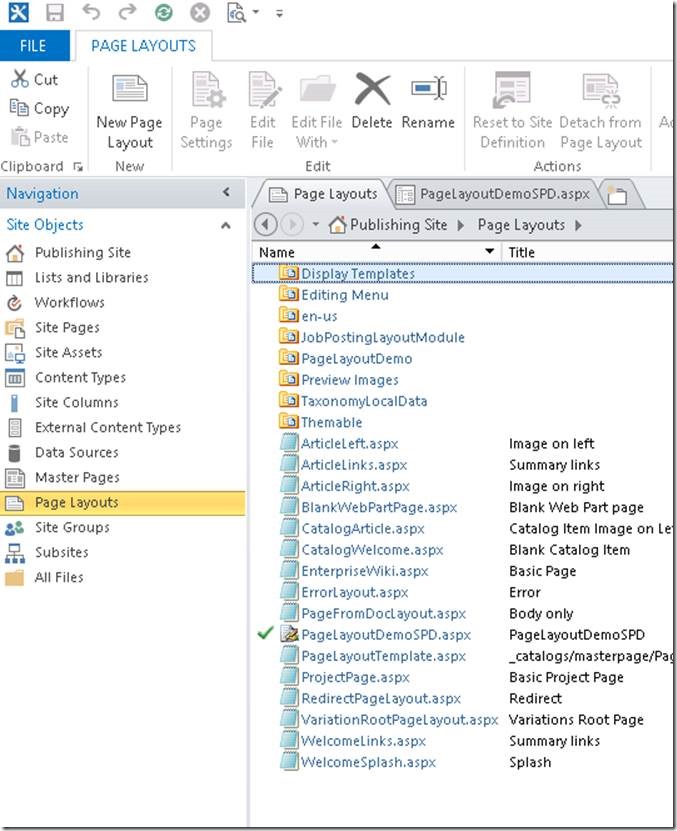
We can see the list of existing PageLayouts.
On that, Click “New Page Layout” from the ribbon
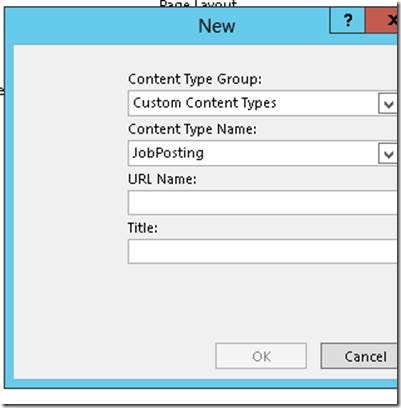
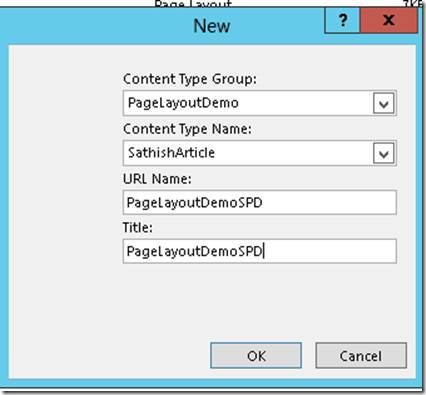
We will be prompted with the following popup.
Select the Content Type and give the URL and Title.
The layout will be created on the PageLayouts folder.
Open the PageLayoutDemoSPD on the Designer itself and modify how you want the layout should be. Later copy the code and paste it on the Visual Studio. That’s it…….
In the next article, let us plan to do the same thing by Design Manager.
Happy Coding.
Sathish Nadarajan.


Leave a comment