In the Earlier Article, we saw an introduction about the SPFx. And here, we saw the installation steps for the Visual Studio Code.
Now, let us see what else we require for setting up the Development Environment.
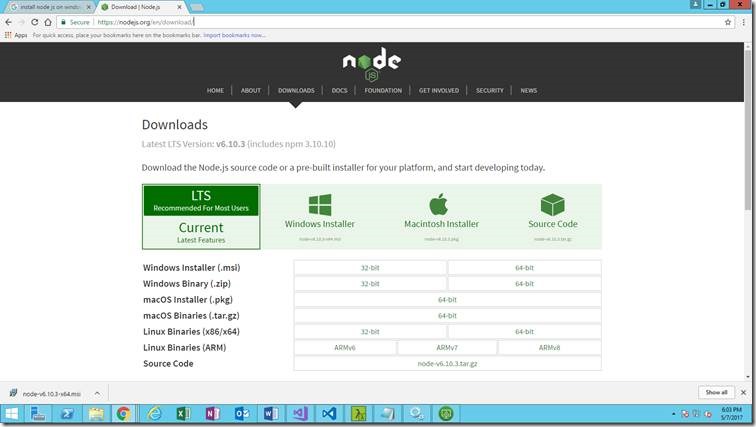
1. Install Node.JS – Download the installer from the path https://nodejs.org/en/download/
2. Download the LTS Version for the time being. Because, as it is an Open Source, the Current Version may not be stable all the time. Always the LTS Version will be Stable.
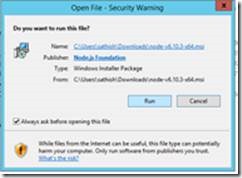
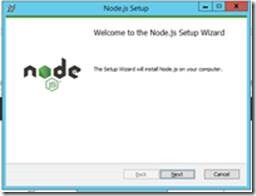
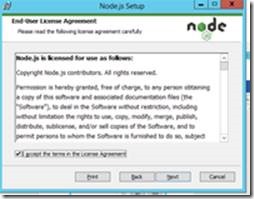
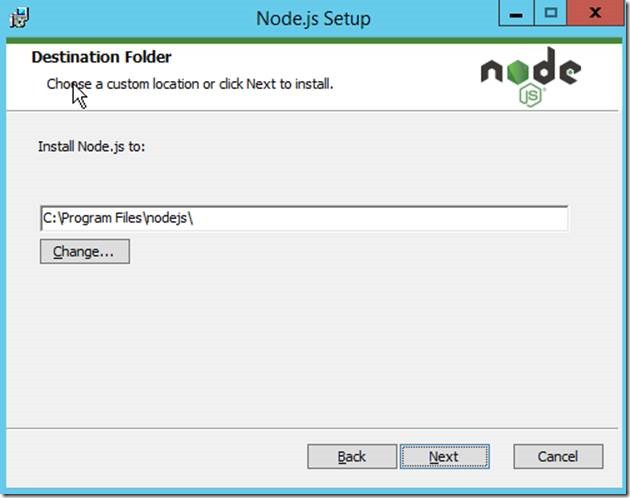
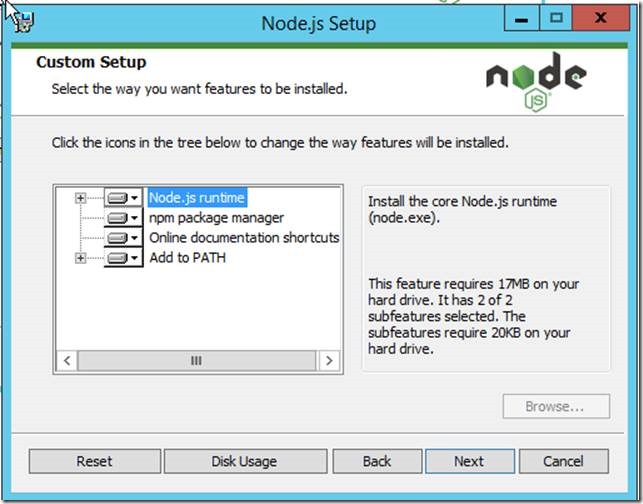
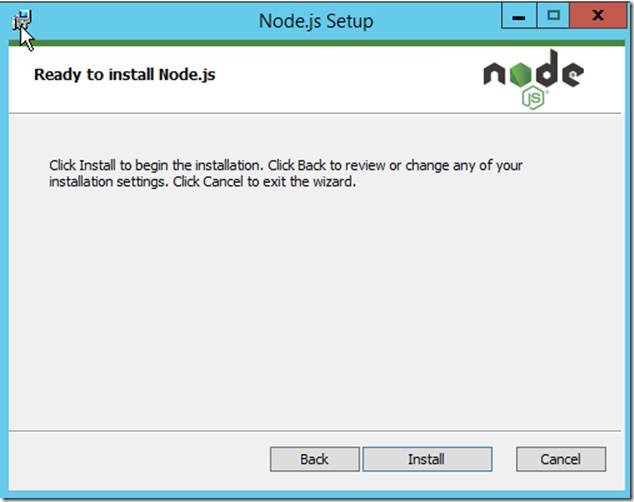
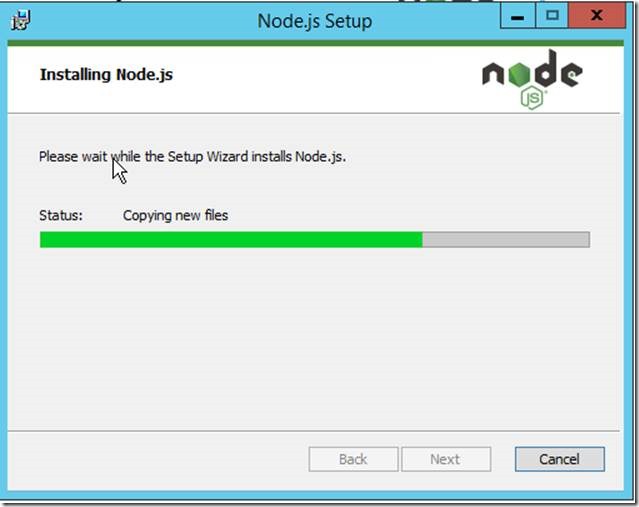
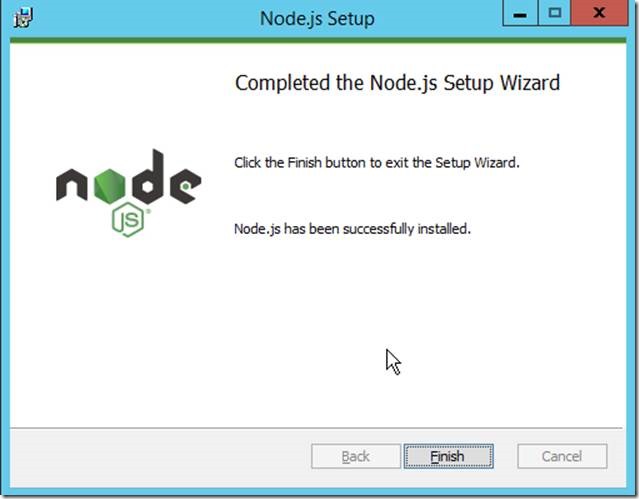
3. Execute the MSI file.
4. Install the CMDER.
a. CMDER is nothing but an utility to execute the command prompt commands. Even, we can use the default Command Prompt also. The CMDER is the one which I always use as it is a bit sophisticated.
5. Verify the Node installation. Usually the above node package will install the NPM as well.
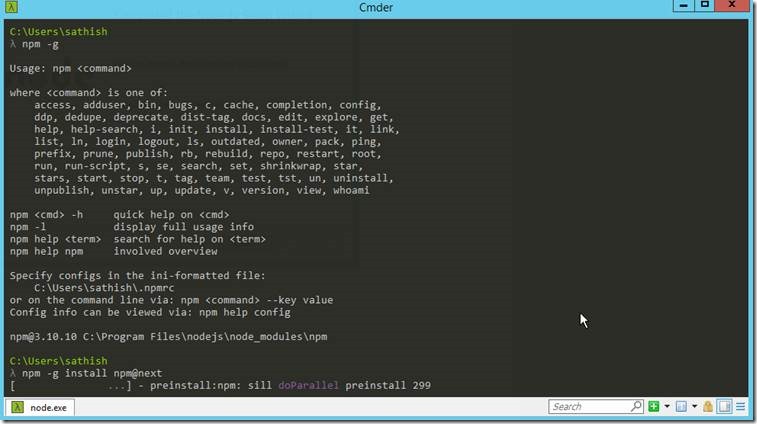
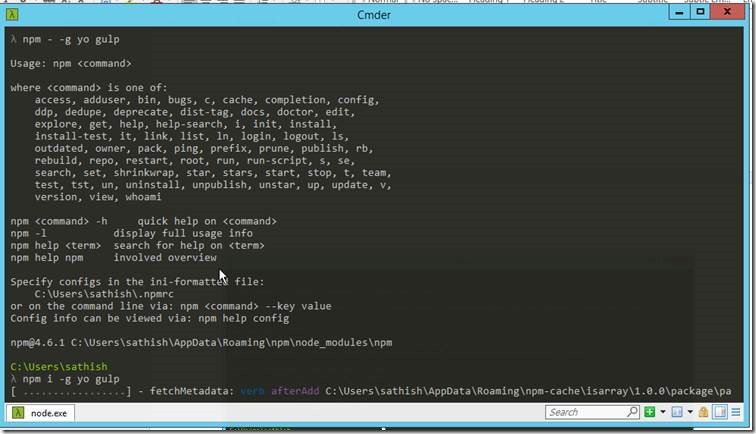
6. Type the command npm -g
7. npm -g install npm@next – This will install the latest version of the Node. This is a kind of update.
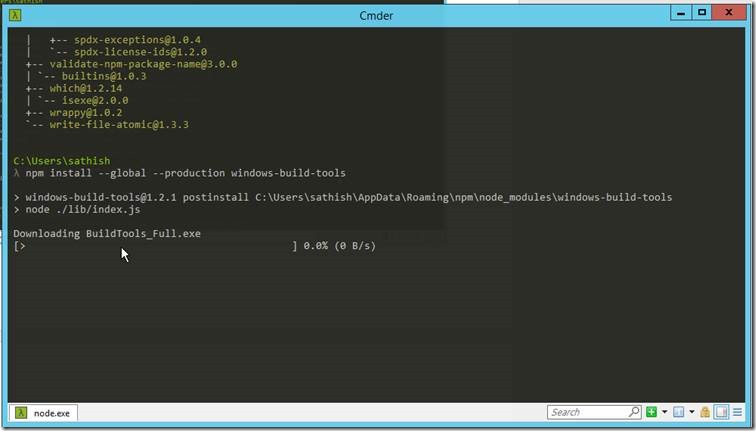
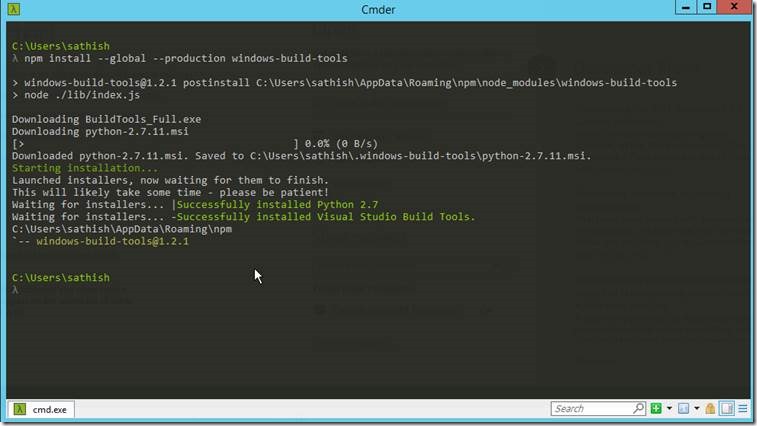
8. npm install –global –production windows-build-tools – This will install the Windows Build tools like phython etc.,
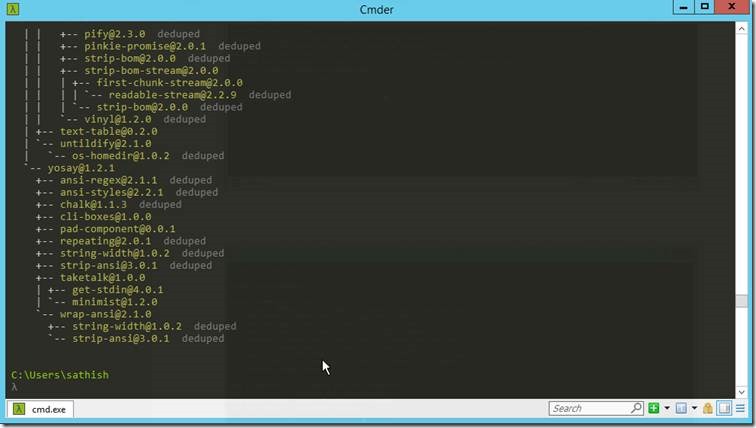
9. Install yeoman and gulp – npm i -g yo gulp
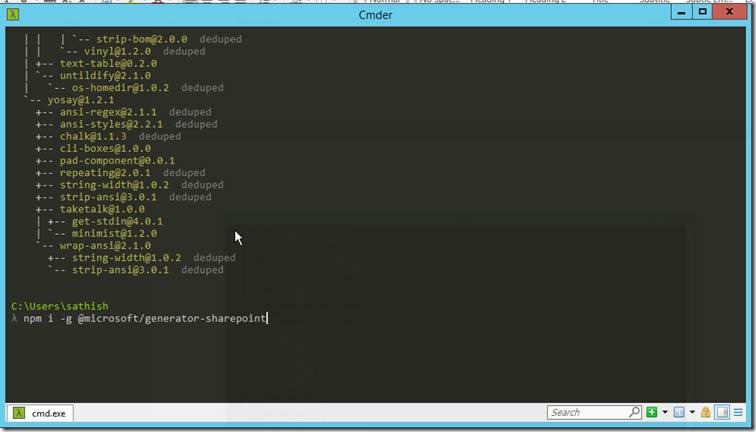
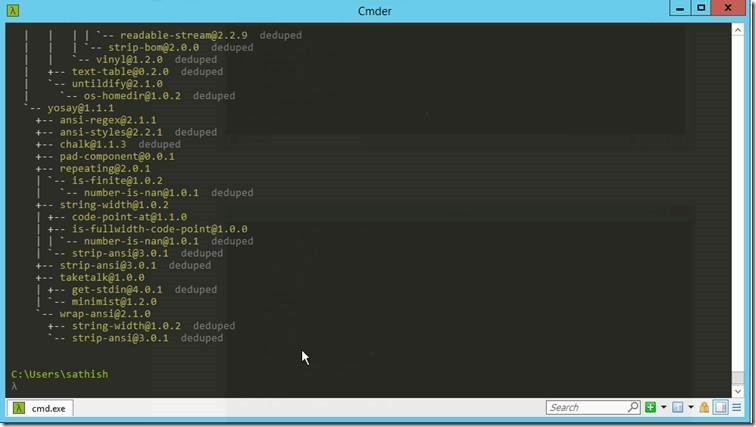
10. And the last step is to install the SharePoint related pluggings. – npm i -g @microsoft/generator-sharepoint
With this, we are ready to start the development. We are set with the Client Side Scripting Development Environment.
Happy Coding,
Sathish Nadarajan.

Leave a comment