We saw the creation of PowerPoint Add-In in the earlier article. As a continuation, in this article, let us see how to Publish and Deploy the Add-In to various users.
There are many ways, we can do the deployment. But basically, as I mentioned in the earlier article, there are two components which we need to be focused on. The Web and the Add-In Manifest.xml.
First, the Web needs to be deployed in any of the public website or in Azure Service Application.
Then the publish the App as well. While doing this, provide the URL of the AppWeb. Then distribute this XML file to the end users. We will see them step by step below.
- Publish the App Web to Azure. Doesn’t require much explanation. Please refer to the below screen shots.
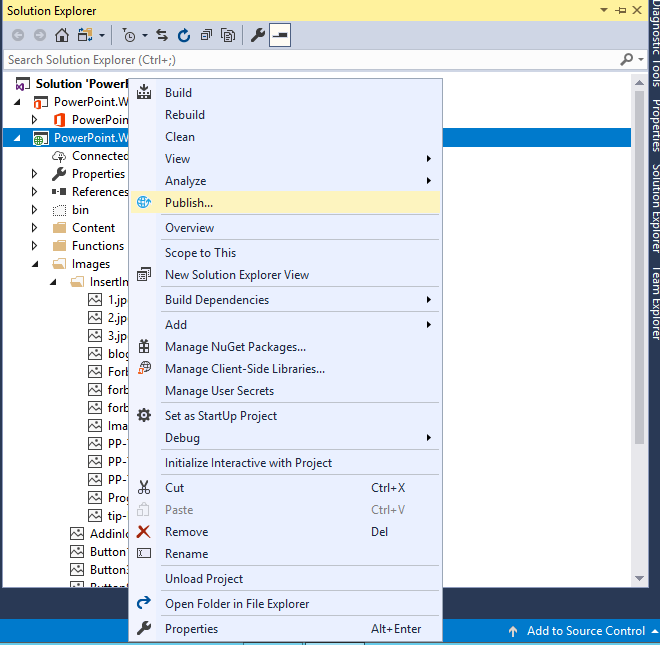
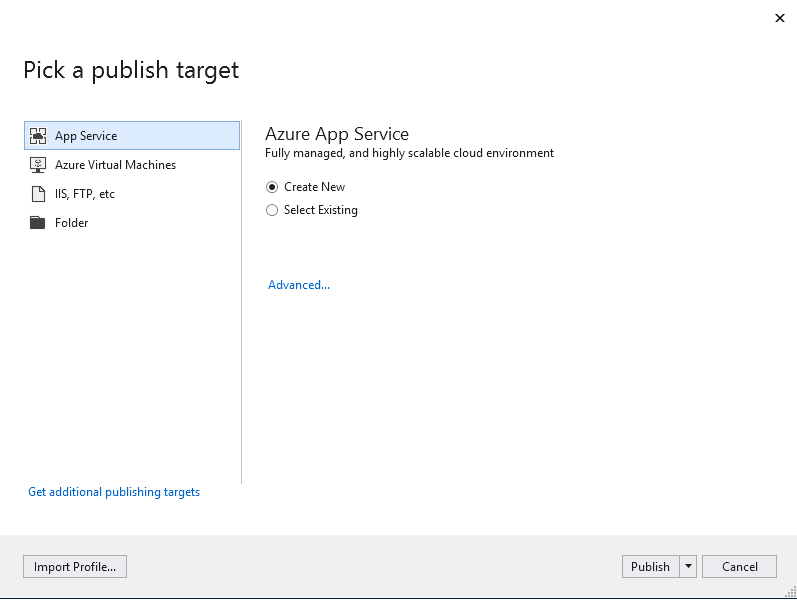
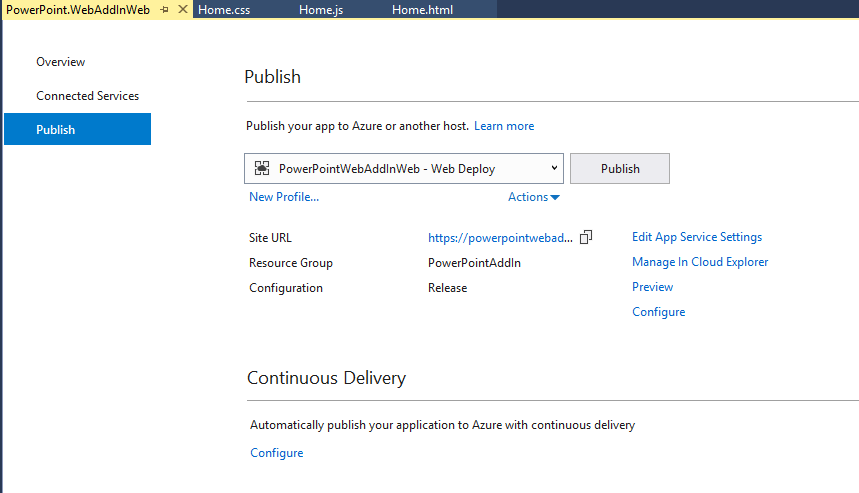
- Once the App Web is deployed, ensure that you are able to access your files using the URL. And give the App Service anonymous permission based on your requirement. This URL will be helpful for us when we publish the App Project.
- Right Click on the App Project and click Publish.
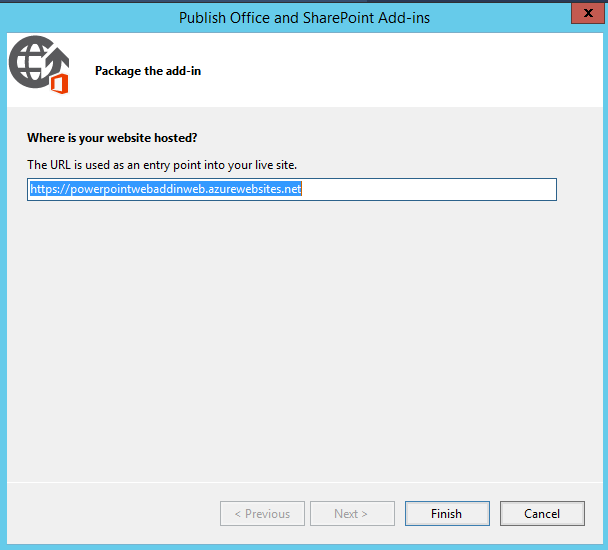
4. Once, the Publish is success, then the Manifest.XML will be generated.
5. This XML is the distributable to other users. There are many ways to do this. Its better explained in the below article. https://docs.microsoft.com/en-us/office/dev/add-ins/publish/publish
6. I tried the SharePoint Catalog (For Windows) and the Side Loading (for Mac) for the testing.
SharePoint Catalog:
- Open the AppCatalog and upload the Manifest.XML to the “AddIns for Office” Section.
- Login to PowerPoint with the Same tenant user.
- Open the PowerPoint.
- Click on the Insert Tab -> Get AddIns

- On the Popup, go to the My Organization Tab, we should be able to see the Uploaded AddIn.
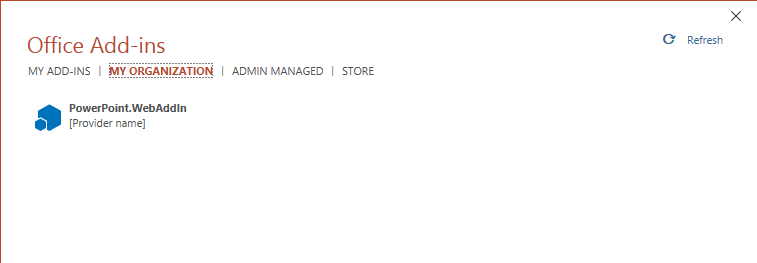
- Select that.
- It will start appearing on the Ribbon.
Side Loading for Mac:
- Open the path /Users/<username>/Library/Containers/com.microsoft.Powerpoint/Data/Documents/wef
- If we don’t see the wef folder, then create
- Upload the XML file in the path.
- Restart the PowerPoint
- We should be able to see the Add-In appearing on the Ribbon.
Request the readers to go through the above mentioned link for further information.
Happy Coding,
Sathish Nadarajan.

Leave a comment