In this article, let us have a look on how to enroll the Blob Index Tags feature. This feature is in Preview now. We can discuss about this feature in detail in the upcoming articles.
By default, I don’t see these new features on my tenant. Let us have a step by step procedure to enable or enroll to these new features in our tenant.
1. Login to the Azure Portal.
2. Create a Storage Account -> Container.
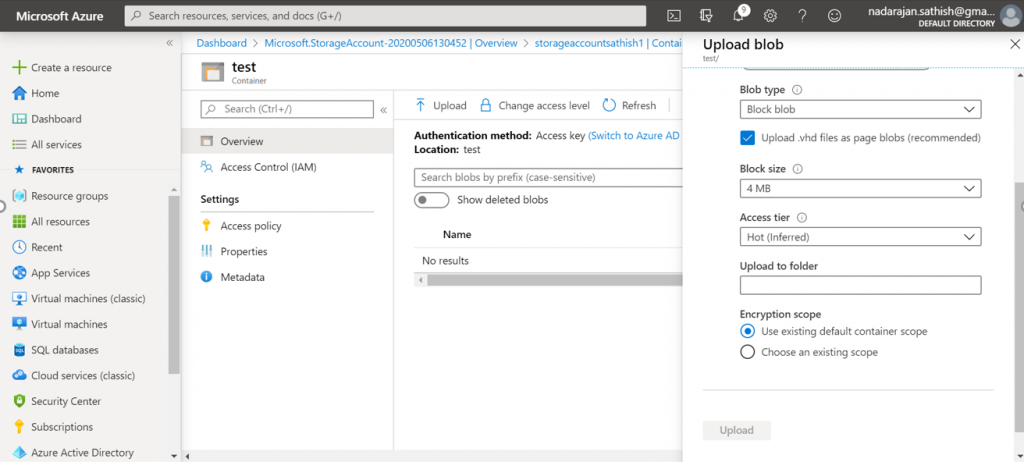
3. Try upload a File in the Blob.

4. On the above Property Pane, we will not be seeing the Blob Index Tags. Because, this feature is not yet Enabled on my tenant.
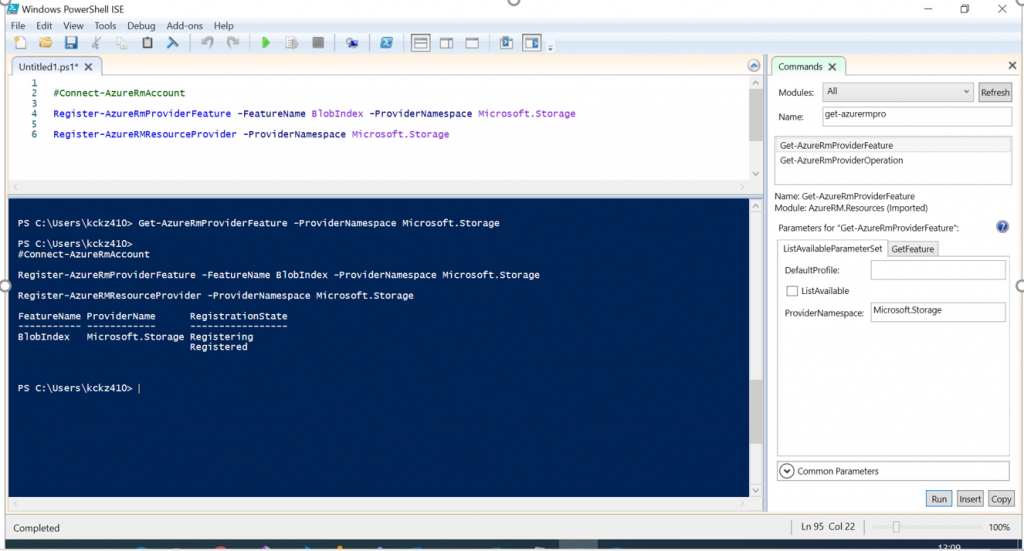
5. Now, let us Execute the below PowerShell commands.
Register-AzureRmProviderFeature -FeatureName BlobIndex -ProviderNamespace Microsoft.Storage
Register-AzureRMResourceProvider -ProviderNamespace Microsoft.Storage
6. After the execution, the status will be as below.

7. Let us wait for an hour. Because, it took an hour for me to get this reflected on the screen.
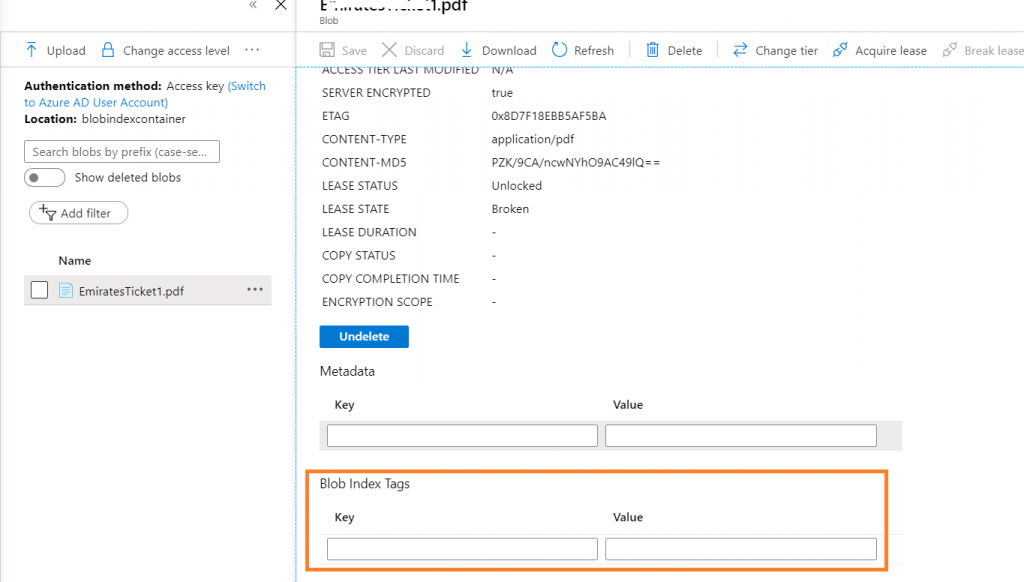
8. Now, when I try upload any file, I will get the Blob Tags in the property Pane. I am able to see the new property called Blob Index Tags.


We can see in detail in the upcoming article about the usage of this.
Note: We can use the CLI as well to enable the features. The commands are as below.
az provider register –namespace ‘Microsoft.Storage’
Happy Coding
Sathish Nadarajan

Leave a comment