How to Configure Search Centre URL in a SharePoint Office 365 Site Programmatically Using C# Client Site Object Model (CSOM)
Today, we are going to have a look on a small tip, which will be useful during the deployment package. Usually, when we are provisioning a site, we need to configure the corresponding search centre URL for that site. But, when we try to automate the deployment process, we need C# code for each and every small piece of work. In that aspect, let us see how to configure the search centre URL here.
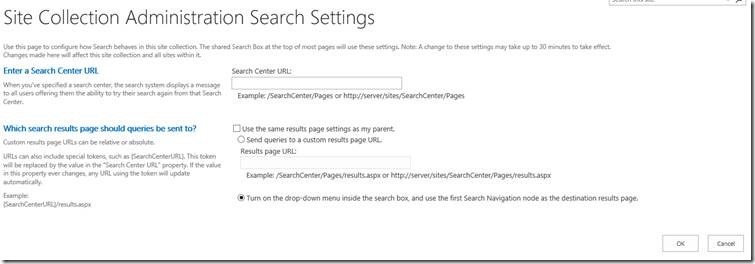
Usually, the Search URL at the site collection level should be set in the below screen.
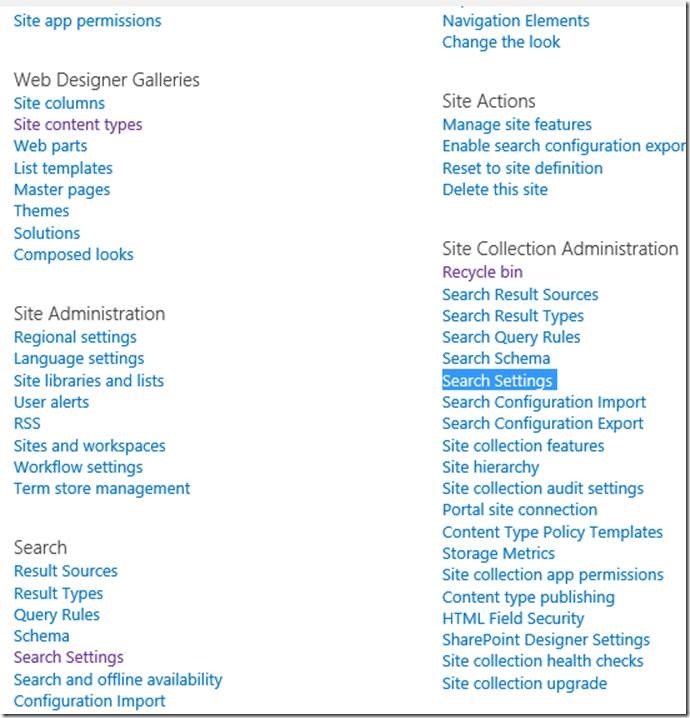
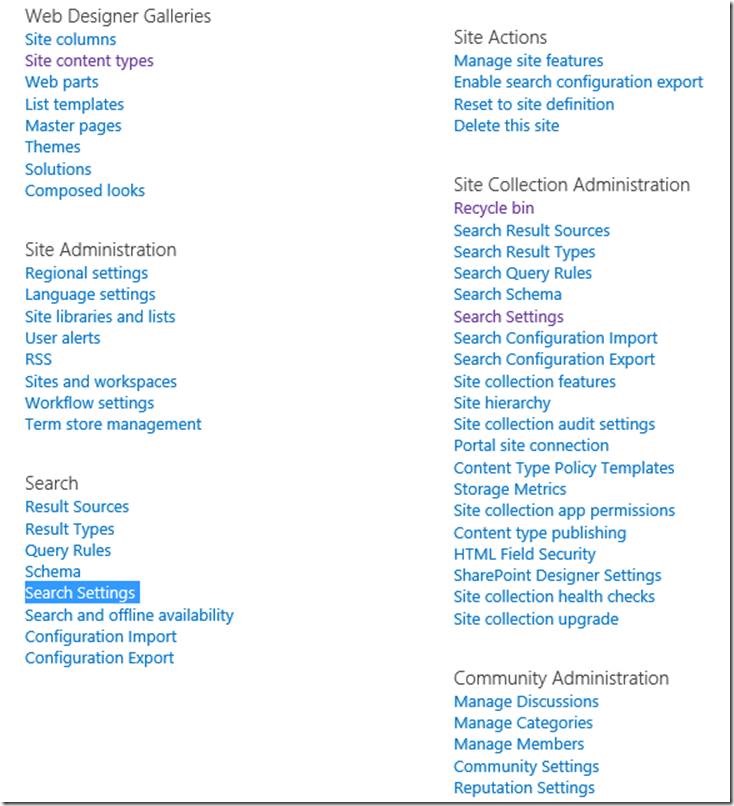
1. Go to Site Settings.
2. Click on the Search Settings.
3. By default, the Search Centre URL will be empty.
4. We can type our Search Site here and click on OK.
5. Now, let us see how to do that programmatically.
 using Microsoft.SharePoint.Client;

 namespace Office365.Console
 {
     class Program
     {
         static void Main(string[] args)
         {
             ConfigureSearchCentreURL();
         }

         public static void ConfigureSearchCentreURL()
         {
             OfficeDevPnP.Core.AuthenticationManager authMgr = new OfficeDevPnP.Core.AuthenticationManager();

             string sourceSiteUrl = "https://*****.sharepoint.com/sites/communitysite";

             string userName = "Sathish@*****.onmicrosoft.com";
             string password = "*********";

             var clientContext = authMgr.GetSharePointOnlineAuthenticatedContextTenant(sourceSiteUrl, userName, password);

             Web web = clientContext.Web;
             clientContext.Load(web);

             //web.SetWebSearchCenterUrl("https:// *****.sharepoint.com/sites/searchcentresiteurl");
             web.SetSiteCollectionSearchCenterUrl("https:// *****.sharepoint.com/sites/searchcentresiteurl");

             web.Update();

             clientContext.ExecuteQuery();
         }

     }
 }
6. The above piece of code will be updating at the site collection search centre URL.
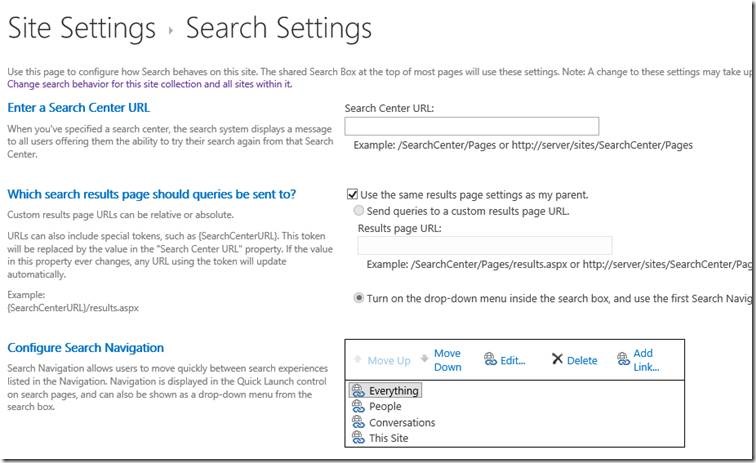
7. If we want to update the Web Level URL, then the commented line will be helpful.
8. Click on the Site Level Search Settings.
Happy Coding,
Sathish Nadarajan.


Leave a comment