If you want your application to securely authenticate user by using their social platform accounts such as Facebook, Google, twitter and Microsoft account, then Azure AD B2C is the best option. Azure AD B2C is a cloud-based identity that helps developer to customize and control the user sign-in and sign-up, we can also bring our own custom identity solution. It also helps in managing user account, reset password and other identity tasks.
We are going to use MSAL (Microsoft Authentication Library) in our NextJS application. It is a client library that helps to integration our application with Azure AD B2C (also it can integrate with MS identity platforms like Microsoft account, Azure AD. In my last article I explained more on MSAL (How To Use MSAL In Next.Js To Authenticate Users In Azure AD))
To implement B2C authentication in a NextJS application, we need to perform the following steps:
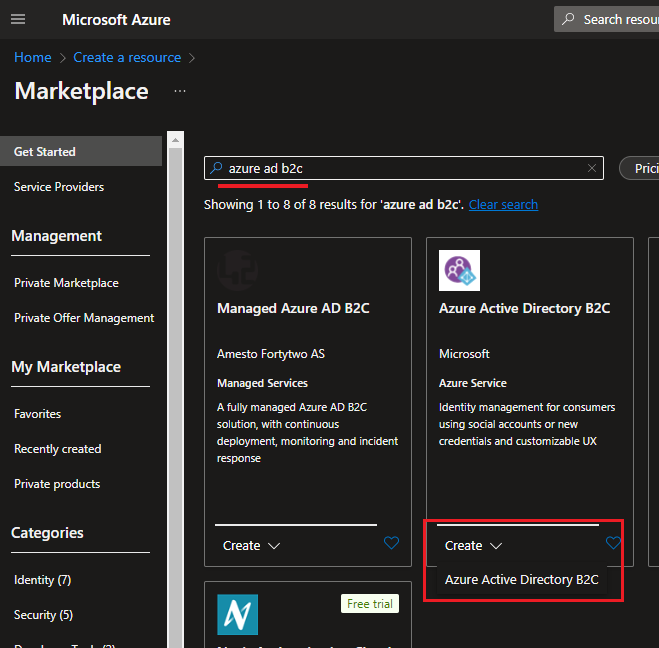
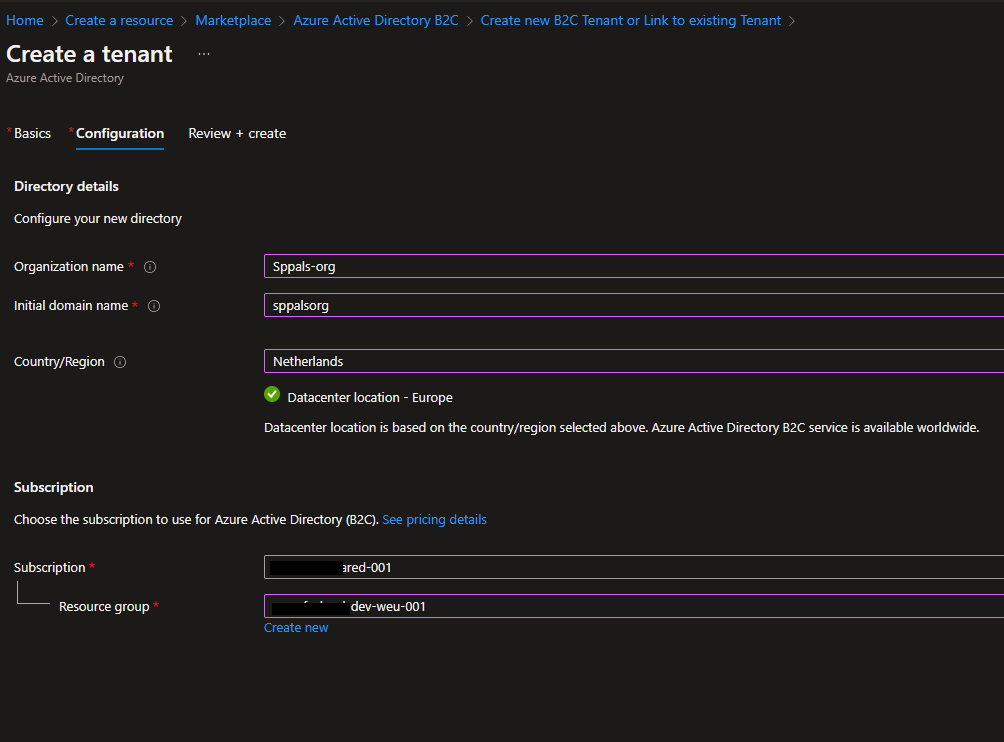
Step 1: Create Azure Active Directory B2C resource from azure portal. And provide organization name, initial domain name (a basic domain name at ‘onmicrosoft.com’ is included with your directory. We can later add a domain name that your organization already uses, such as ‘contoso.com’)
If you encounter the error “The subscription is not registered to use namespace ‘Microsoft.AzureActiveDirectory’.” then you can refer to this article
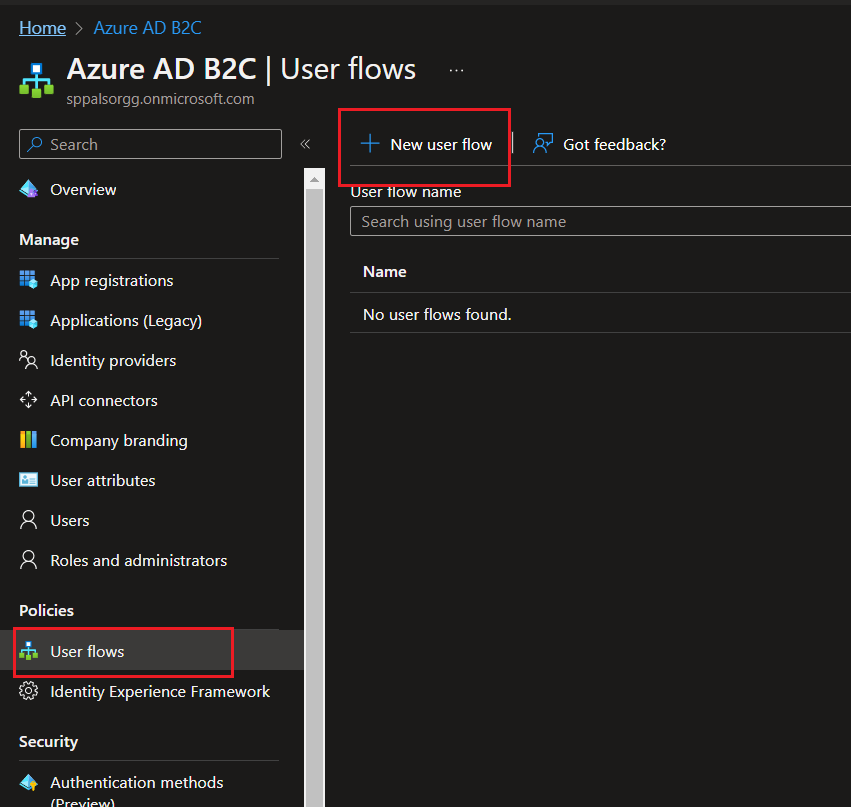
Step 2: Create User Flow or custom policies in azure portal, here you can find the difference and when to use which business flow based on your requirement – User Flow and custom policies overview. For this demo, I use User flow (User flows are predefined in the Azure AD B2C portal for the most common identity tasks, custom policies can be fully edited by an identity developer to complete many different tasks.)
Step 3: Once the flow is created, we can add identity providers such as Google, Facebook, twitter. In this article, we will add Google as an identity provider. Microsoft has good documentation for adding different identity providers such as Facebook, twitter, LinkedIn etc. I followed this documentation for Google identity. We need Client Id and Secret from your Google developer portal.
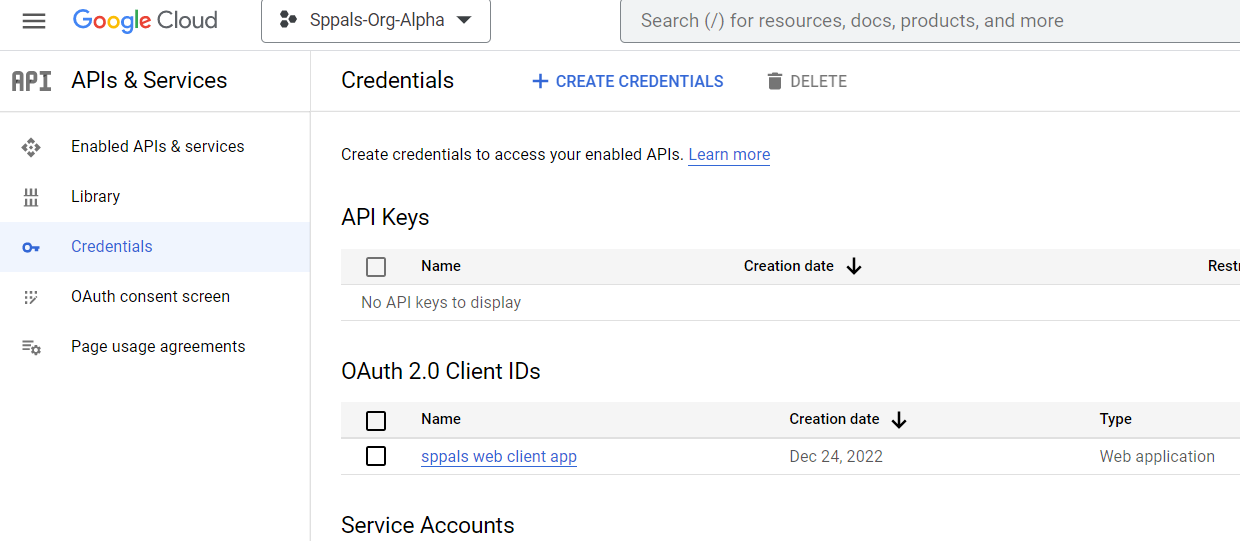
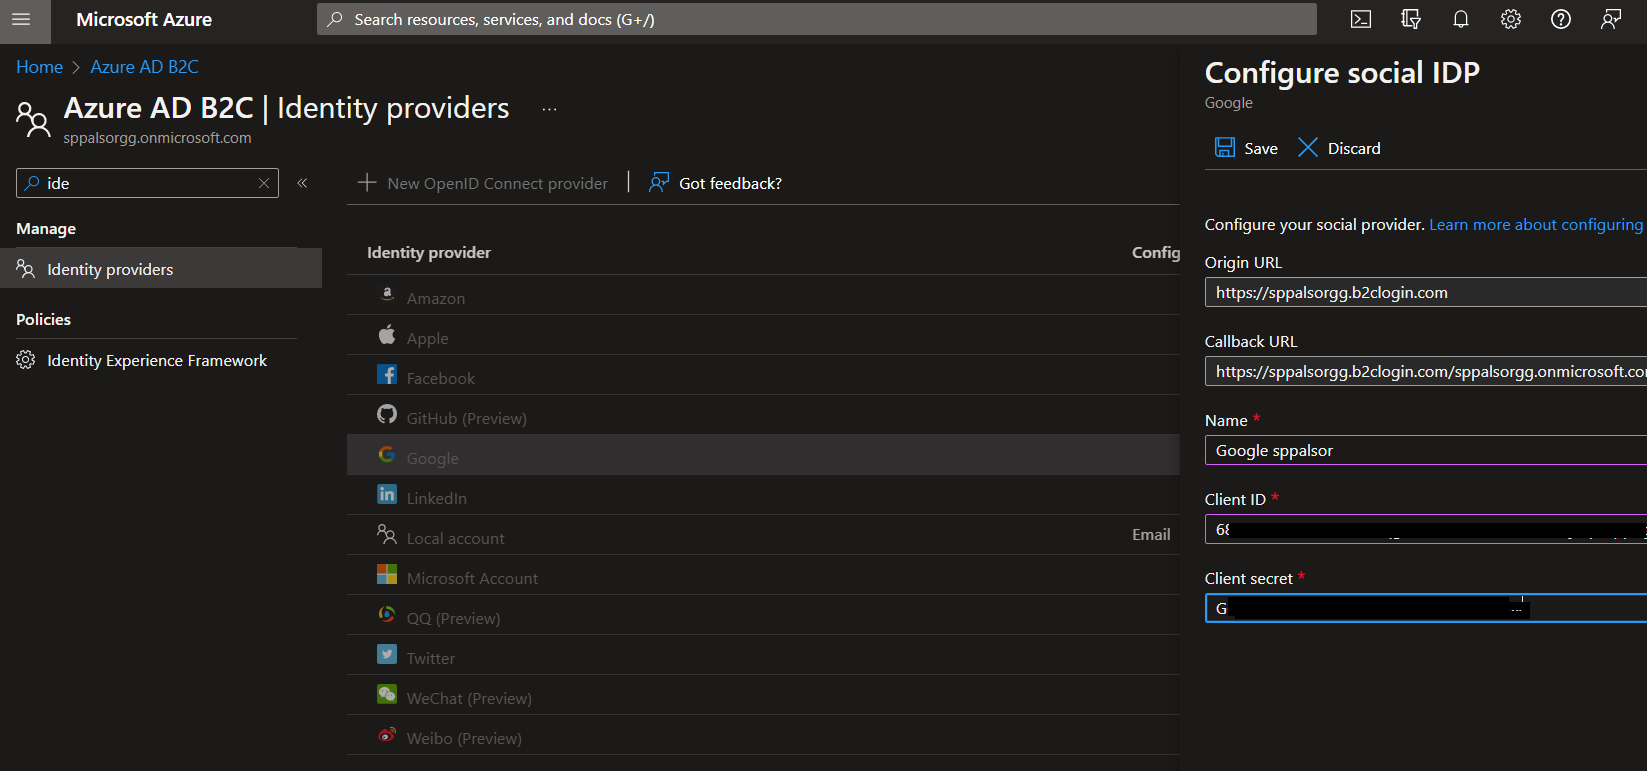
Step 4: Once the OAuth credential is created, we can add that in our B2C Azure portal. Give a name for the Identity Provider, and provide client Id and secret which is copied from last step.
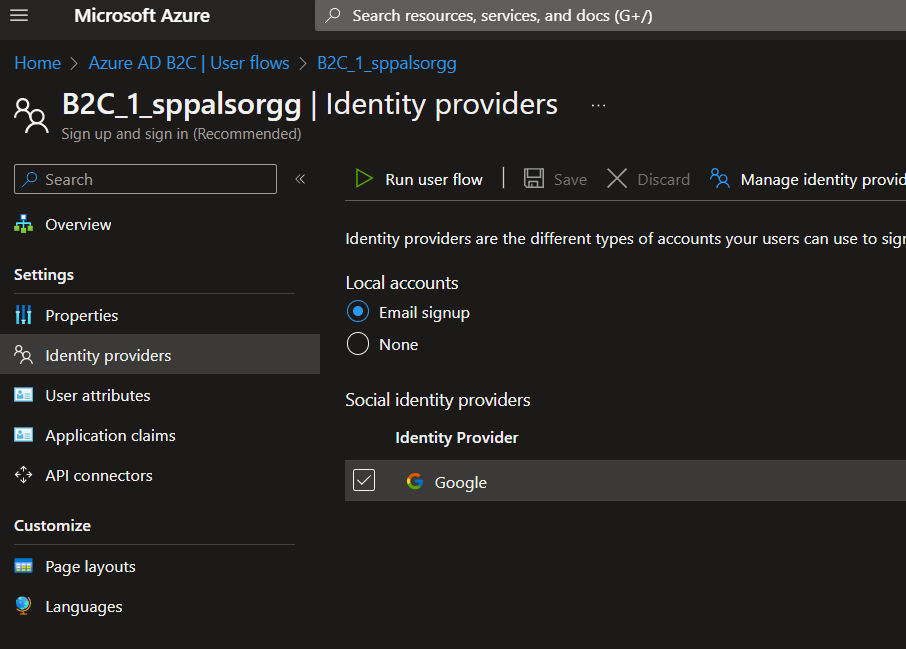
Then, we can add Google in our user flow under Identity Providers settings, as shown in the screenshot below.
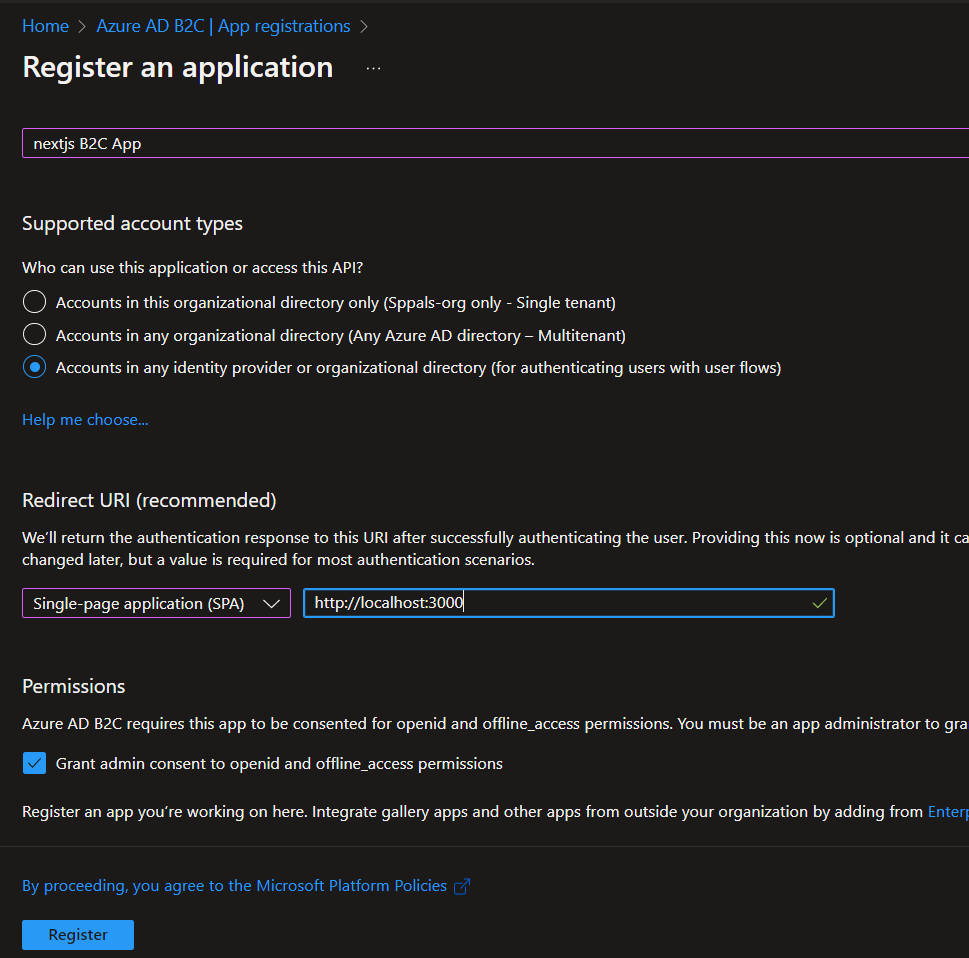
Step 5: Create an Azure App (we have separate Azure AD in your B2C directory and we can use that Azure AD for App registration), and make sure you have redirect URI as http://localhost:3000 and http://localhost:3000/redirect.html (because nextjs application uses localhost 3000 port for local dev)
In this article, we have seen the configuration and prerequisites for B2C authentication, and in Part 2, we will look at how a Next.js application uses Azure App to authenticate users using their Google accounts.
Tip: To switch AD or delete B2C AD. Click on Directories + Subscriptions button in top ribbon. There you can switch between directories.

Happy coding,
Fazil

Leave a comment