This is the continuation of my last article. In this article, we will explore the coding part. If you would like to see how we configured A2B in Azure AD, please refer to my last article.
Step 1: Create a NextJS application with Typescript and install MSAL libraries by using the below commands,
npx create-next-app@latest --ts
npm i @azure/msal-react @azure/msal-browser
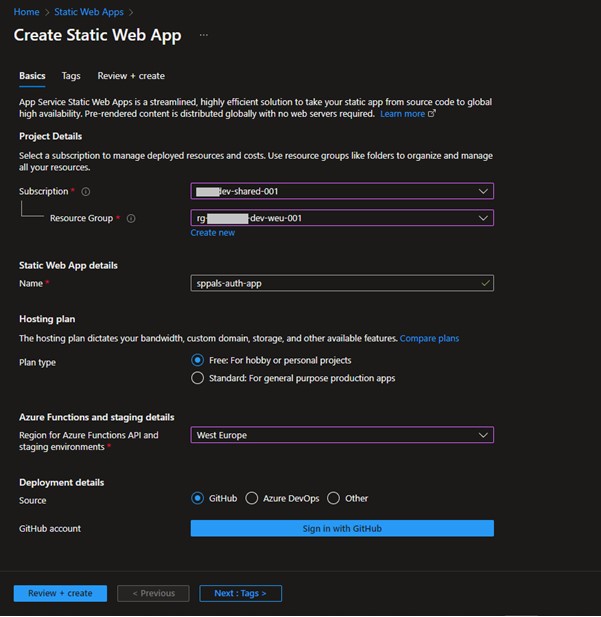
Step 2: Create Static webapp to deploy your nextjs application, and for the deployment I use github actions.

Step 3: In the next js app, create an object for auth configuration (available in authConfig.ts). This object allows to configure important elements of MSAL functionality and is passed into the constructor of PublicClientApplication. In policies provide following details,
domain-name -> sppalsorg (step 1 from part 1 article)
primary-domain-name -> sppalsorg.onmicrosoft.com
flow-name -> Name of the flow created in Step 2 from Part 1 article.
export const b2cPolicies = {
    authorities: {
        signUpSignIn: {
            authority:
                'https://<domain-name>.b2clogin.com/<primary-domain-name>/<flow-name>',
        }
    },
    authorityDomain: '<domain-name>.b2clogin.com',
};
In the auth property, make sure to provide ClientId (that was created in step 5 from part 1).
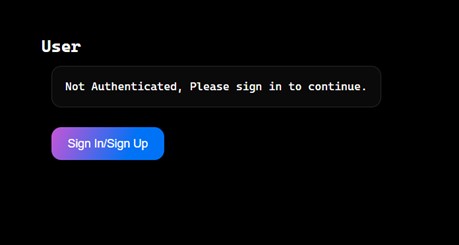
Step 4: In the _app.tsx file instantiate the PublicClientApplication. With the help of useMsal we can loginRedirect and logoutRedirect on button click, which will take user to authentication screen.


Once the user signed up using google, their identity will be saved in our Azure A2B AD. The code for this article is available in github. Thanks for reading
Happy Coding,
Fazil

Leave a comment